laying spc flooring
Laying SPC Flooring A Practical Guide for Homeowners
In recent years, Stone Plastic Composite (SPC) flooring has gained popularity among homeowners for its durability, aesthetic appeal, and ease of installation. Comprising a combination of limestone and PVC, SPC flooring offers an innovative solution for those looking to enhance their living spaces. Whether you are renovating your home or building anew, laying SPC flooring can be a rewarding DIY project if approached methodically. Here’s a comprehensive guide to help you through the process.
1. Understanding SPC Flooring
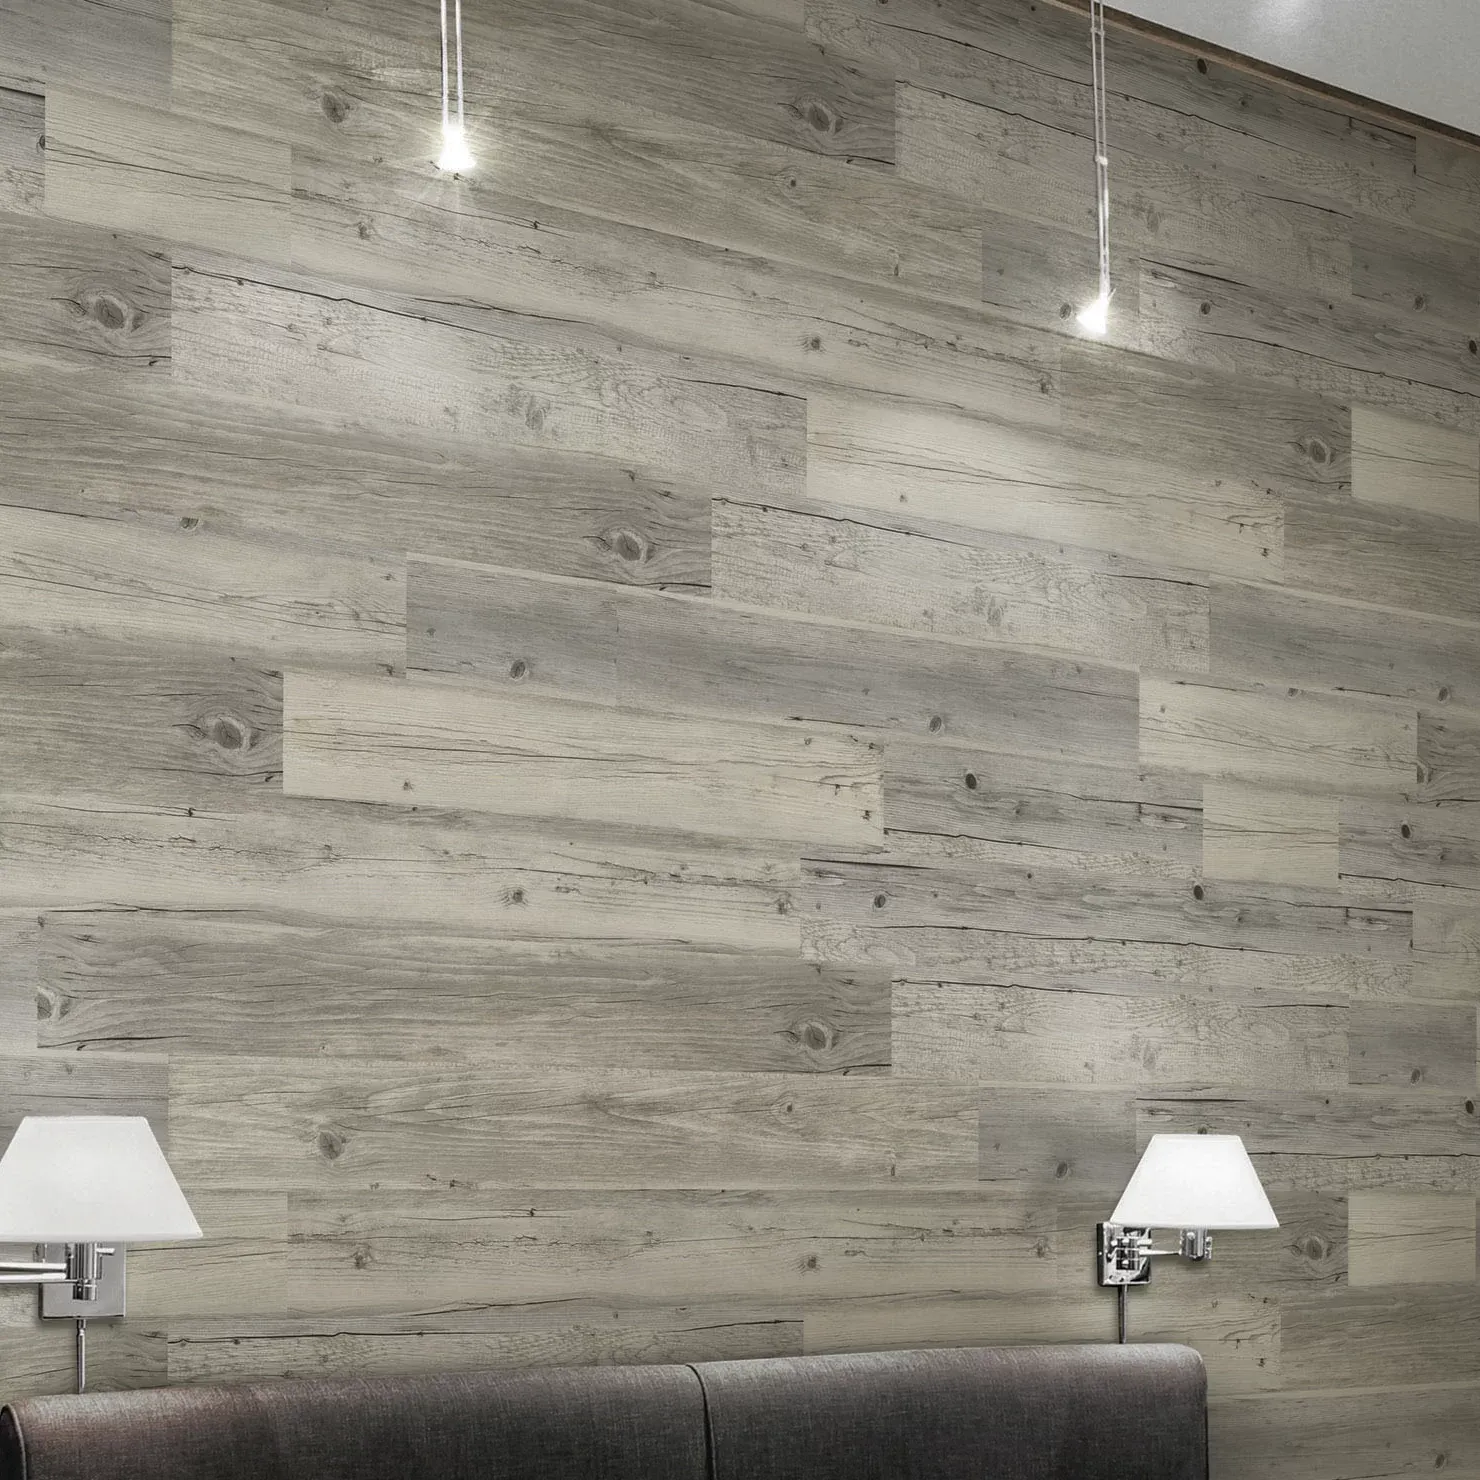
Before diving into the installation process, it’s essential to comprehend what SPC flooring is. SPC flooring is engineered to provide a rigid and waterproof structure, making it suitable for various environments, including kitchens and bathrooms. It mimics the look of natural wood or stone while offering improved resistance to scratches, dents, and water damage. The flooring comes in planks or tiles, and its click-lock installation makes it user-friendly, even for novices.
2. Preparing the Subsurface
Proper preparation of the subfloor is crucial for the longevity of your SPC flooring. Start by ensuring that your subfloor is clean, dry, and level. Remove any debris, dirt, or previous flooring that may exist. If you notice any uneven areas, use a leveling compound to fill in low spots. This ensures that your SPC flooring will lay flat and help prevent issues such as warping or gaps over time.
SPC flooring should be acclimated to your home’s climate before installation. Unbox the planks and allow them to sit in the room where they will be installed for at least 48 hours. This helps the flooring adjust to the temperature and humidity levels, reducing the risk of expansion or contraction once installed.
laying spc flooring

4. Tools and Materials You Will Need
To ensure a smooth installation process, gather all the necessary tools and materials beforehand. You will need - SPC planks - Underlayment (if recommended by the manufacturer) - Measuring tape - Straightedge or carpentry square - Utility knife - Spacers - Rubber mallet - Pull bar and tapping block (for click-lock installations)
5. Installing the SPC Flooring
Begin your installation in a corner of the room, working from left to right. Place spacers against the wall to maintain an appropriate expansion gap, typically around 1/4 inch. Start by laying the first row of planks, ensuring they are locked together securely. Use the rubber mallet to gently tap the planks together, and the pull bar to fit tightly against the wall. As you progress, stagger the joints of each subsequent row to create a visually appealing and structurally sound floor.
6. Trim and Finish
Once the planks are laid, remove the spacers and install baseboards or trim to cover the expansion gaps and provide a polished finish. Make sure to clean the flooring thoroughly, removing any dust or debris before you start using the space.
Conclusion
Laying SPC flooring is an excellent choice for homeowners seeking a blend of practicality and elegance. By following these steps, you can achieve a beautiful and durable floor that enhances the ambiance of your home. With careful preparation and execution, your SPC flooring will not only look great but also serve you well for years to come. Happy flooring!
-
Masking Tape: Clean Removal, Precision Lines, Pro-GradeNov.10,2025
-
Skirting: MDF, Oak & SPC | Durable, Easy-FitNov.10,2025
-
Commercial VCT Tile Flooring – Durable, Low-MaintenanceNov.10,2025
-
LVT Vinyl Floors – Waterproof, Scratch‑Resistant, Easy ClickNov.10,2025
-
Masking Tape - Pro-Grade, Clean Removal, Crisp LinesNov.10,2025
-
Premium Masking Tape - Sharp Lines, Clean RemovalNov.10,2025


