Exploring the Benefits of Rebated Skirting Boards for Modern Interior Design Solutions
Understanding Rebated Skirting Board A Comprehensive Guide
When it comes to interior design, particularly in the finishing touches of a room, skirting boards often play a crucial role. Among various types of skirting boards available, the rebated skirting board stands out for its unique design and functionality. This article explores what rebated skirting boards are, their advantages, installation process, and how they can enhance the aesthetic appeal of your space.
What is a Rebated Skirting Board?
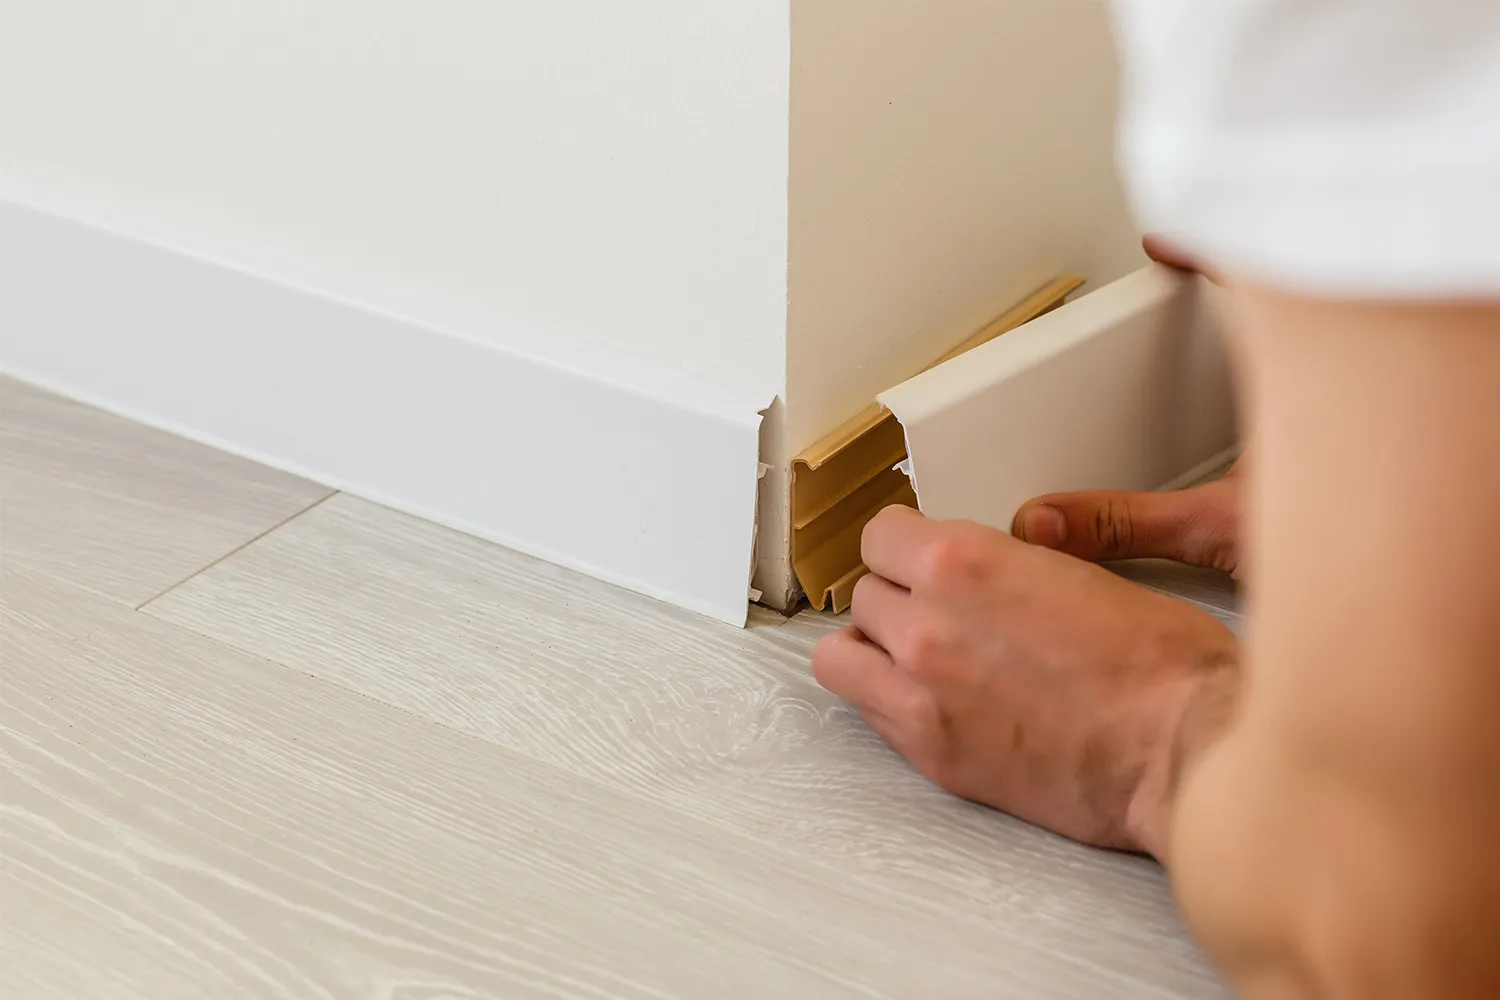
A rebated skirting board features a special groove or 'rebate' cut into its design, creating a ledge or step where the board meets the wall. This innovative design allows for a seamless transition between the wall and the floor. The rebate provides both a stylish appearance and practical benefits, distinguishing it from traditional flat skirting options.
Benefits of Rebated Skirting Boards
1. Aesthetic Appeal One of the primary advantages of rebated skirting boards is their sophisticated look. The unique groove adds depth and character, making them a popular choice among interior designers. Whether your home style leans towards modern, traditional, or somewhere in between, there is likely a rebated skirting board profile that complements your decor.
2. Concealing Imperfections The rebate effectively covers any imperfections or gaps between the wall and the floor, creating a polished and professional finish. This is particularly beneficial in older homes where walls may not be perfectly straight or where flooring materials may not align perfectly.
3. Protection for Walls Skirting boards serve as a protective barrier for walls against scuffs, scratches, and damage caused by furniture or foot traffic. The added depth of a rebated skirting board can enhance this protective function, helping to prolong the life of your walls.
4. Ease of Cleaning With their raised profile, rebated skirting boards can make cleaning easier. The design allows for less dust and dirt accumulation, as there are fewer flat surfaces for grime to settle on.
rebated skirting board

Installation Process
Installing rebated skirting boards may seem daunting, but with the right tools and a bit of patience, it can be a straightforward DIY project.
1. Preparation Start by measuring the length of the walls where the skirting will be installed. This will help you determine how many lengths of skirting board you will need. Make sure to choose the appropriate height and profile that suits your design preferences.
2. Cutting the Boards Use a miter saw to cut the skirting boards to the correct lengths, ensuring that the corners are cut at a 45-degree angle for a seamless joint.
3. Attaching the Skirting Depending on your wall material, you can use adhesive, nails, or screws to attach the rebated skirting boards. If using nails or screws, a nail gun or drill will make the job easier. Ensure that the boards are level as you go along.
4. Finishing Touches Once the skirting is installed, caulk any visible gaps and apply paint or stain as desired. This helps to create a unified look and attracts the eye to the beautiful contours of the skirting.
Conclusion
Rebated skirting boards are an excellent choice for homeowners looking to add style and functionality to their spaces. Their aesthetic appeal, protective qualities, and ease of installation make them a popular option among both DIY enthusiasts and professional decorators. Whether you are updating a single room or undertaking a full renovation, considering rebated skirting boards may elevate your interior design to new heights.
-
Waterproof Advantages of SPC Flooring Vinyl in KitchensAug.06,2025
-
SPC Hybrid Waterproof Flooring Thickness GuideAug.06,2025
-
Leveling Subfloor Before My Floor SPC InstallAug.06,2025
-
How Mesh Deck Skirting Improves Outdoor Pest ControlAug.06,2025
-
Choosing the Right Commercial Flooring for Your Business NeedsAug.06,2025
-
Choosing the Best Residential Flooring: A Comprehensive Guide to Style, Durability, and ComfortAug.06,2025


