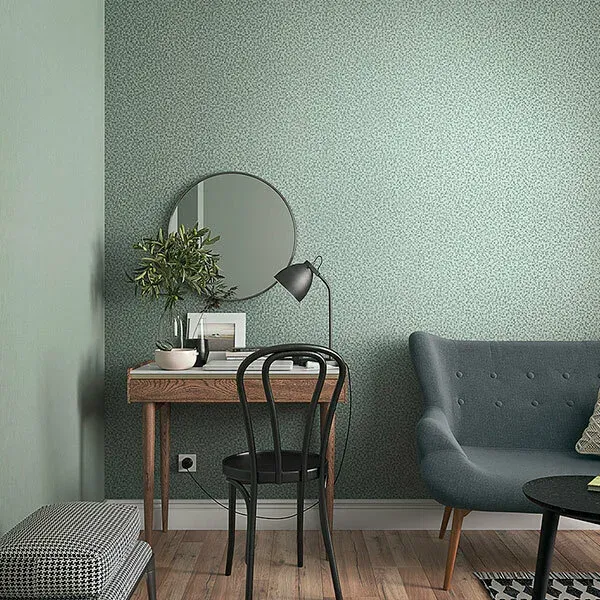
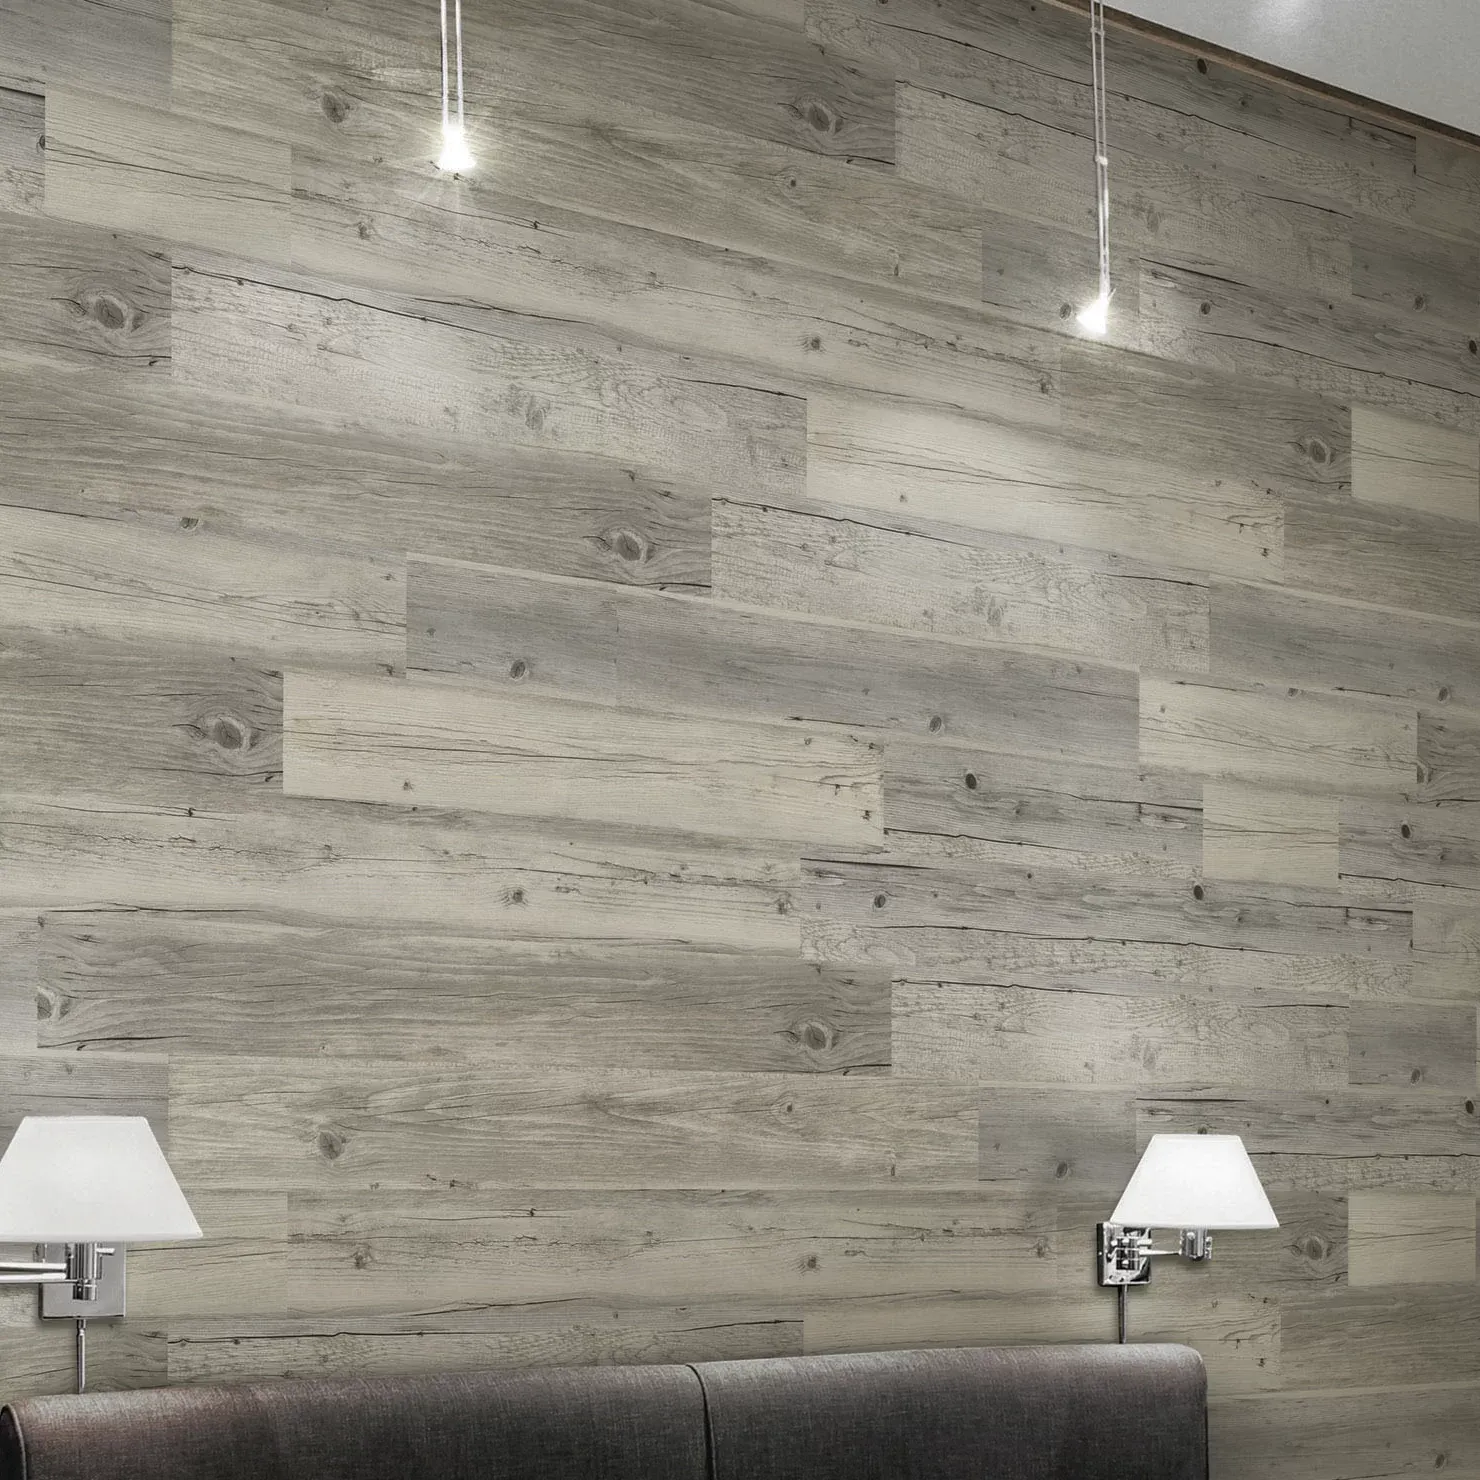
laying spc flooring
Laying SPC Flooring A Comprehensive Guide
SPC flooring, or Stone Plastic Composite flooring, has gained significant popularity in recent years due to its durability, versatility, and aesthetic appeal. Laying SPC flooring can transform a space, providing a beautiful surface that mimics the look of natural wood or stone without the high maintenance or cost. If you’re considering a flooring project, here’s a comprehensive guide to laying SPC flooring effectively.
1. Preparation
Before you begin laying SPC flooring, preparation is key. First, ensure that the subfloor is clean, dry, and level. Any irregularities in the subfloor can lead to problems later on, such as warping or cracking. A concrete or plywood subfloor is ideal, but it’s crucial to check for moisture levels; excess moisture can damage the SPC planks.
Next, it’s important to acclimate your SPC flooring to the room’s temperature and humidity. Leave the planks in the room for at least 48 hours before installation. This allows the planks to adjust to their new environment, minimizing the risk of expansion or contraction once installed.
2. Tools and Materials Needed
To lay SPC flooring, gather the necessary tools and materials. You will need
- SPC flooring planks - Underlayment (if required) - Utility knife or flooring cutter - Tap down block - Spacers - Measuring tape - Straightedge - Rubber mallet - Leveling compound (if needed) - Safety goggles and gloves
Ensure you have everything ready before you start, as this will streamline the installation process.
Start by measuring the room’s width to determine how many planks will be needed. It’s often best to start in the left corner of the room, working your way to the right. Leave a small expansion gap (usually about 1/4 inch) between the wall and the planks to allow for natural expansion.
laying spc flooring

Begin laying the first row of planks with the tongue side facing the wall. Use spacers to maintain the expansion gap. For a seamless look, stagger the joints of the planks by starting the second row with a plank that has been cut to about two-thirds of the length of the original plank. This staggered effect not only looks better but also enhances stability.
4. Installing the Remaining Rows
As you move to the next rows, use a tapping block and a rubber mallet to secure the planks together tightly. Be careful not to hit the planks directly, as this can cause damage. Continue laying the planks, ensuring that the end joints are also staggered. Check periodically with a level to ensure that the floor remains even.
If you encounter the need to cut a plank to fit around obstacles like vents or door frames, use a utility knife to make precise cuts. Always measure twice before cutting to minimize waste.
5. Finishing Touches
Once all the planks are laid, remove the spacers and install baseboards or quarter round molding to cover the expansion gaps. This will give your floor a polished and finished look.
6. Maintenance
SPC flooring is remarkably low maintenance. Regular sweeping or vacuuming will help keep it looking its best, while occasional mopping with a damp cloth will remove any stubborn dirt or stains. Avoid using harsh chemicals or abrasive cleaners, as these can damage the flooring’s surface.
Conclusion
Laying SPC flooring is a manageable DIY project that can enhance any home. With the right preparation, tools, and techniques, you can achieve a stunning and durable flooring solution that elevates your living space. Enjoy your new floors and the warmth and character they bring to your home!
-
SPC FlooringJun.24,2025
-
Bathroom Wall CoveringsJun.24,2025
-
Why Dry Back LVT Flooring Is the Smart Choice for Modern InteriorsJun.05,2025
-
Transform Your Interiors with Elegant Luxury Vinyl Flooring OptionsJun.05,2025
-
The Rise of SPC Vinyl Flooring: A Modern Solution for Durable and Stylish SpacesJun.05,2025
-
Click LVT Flooring: The Perfect Blend of Style, Strength, and SimplicityJun.05,2025


