Step-by-Step Guide to Installing Roll-Out Vinyl Flooring Efficiently
The Ultimate Guide to Rolling Out Vinyl Flooring
Vinyl flooring has become increasingly popular over the years, thanks to its versatility, durability, and ease of installation. Whether you’re renovating your home or simply updating a room, rolling out vinyl flooring can provide an attractive and practical solution. This article will guide you through the benefits of vinyl flooring, the preparation required, and the steps involved in its installation.
Benefits of Vinyl Flooring
1. Affordability One of the most significant advantages of vinyl flooring is its cost-effectiveness. It's typically cheaper than traditional hardwood or tile options, allowing homeowners to stay on budget while achieving a stylish look.
2. Durability Vinyl flooring is designed to withstand high foot traffic and is resistant to scratches, dents, and stains. This makes it an excellent choice for families with children or pets, as it can handle the wear and tear of daily life.
3. Water Resistance Most vinyl flooring options are waterproof or water-resistant, making them suitable for areas prone to moisture, such as kitchens and bathrooms.
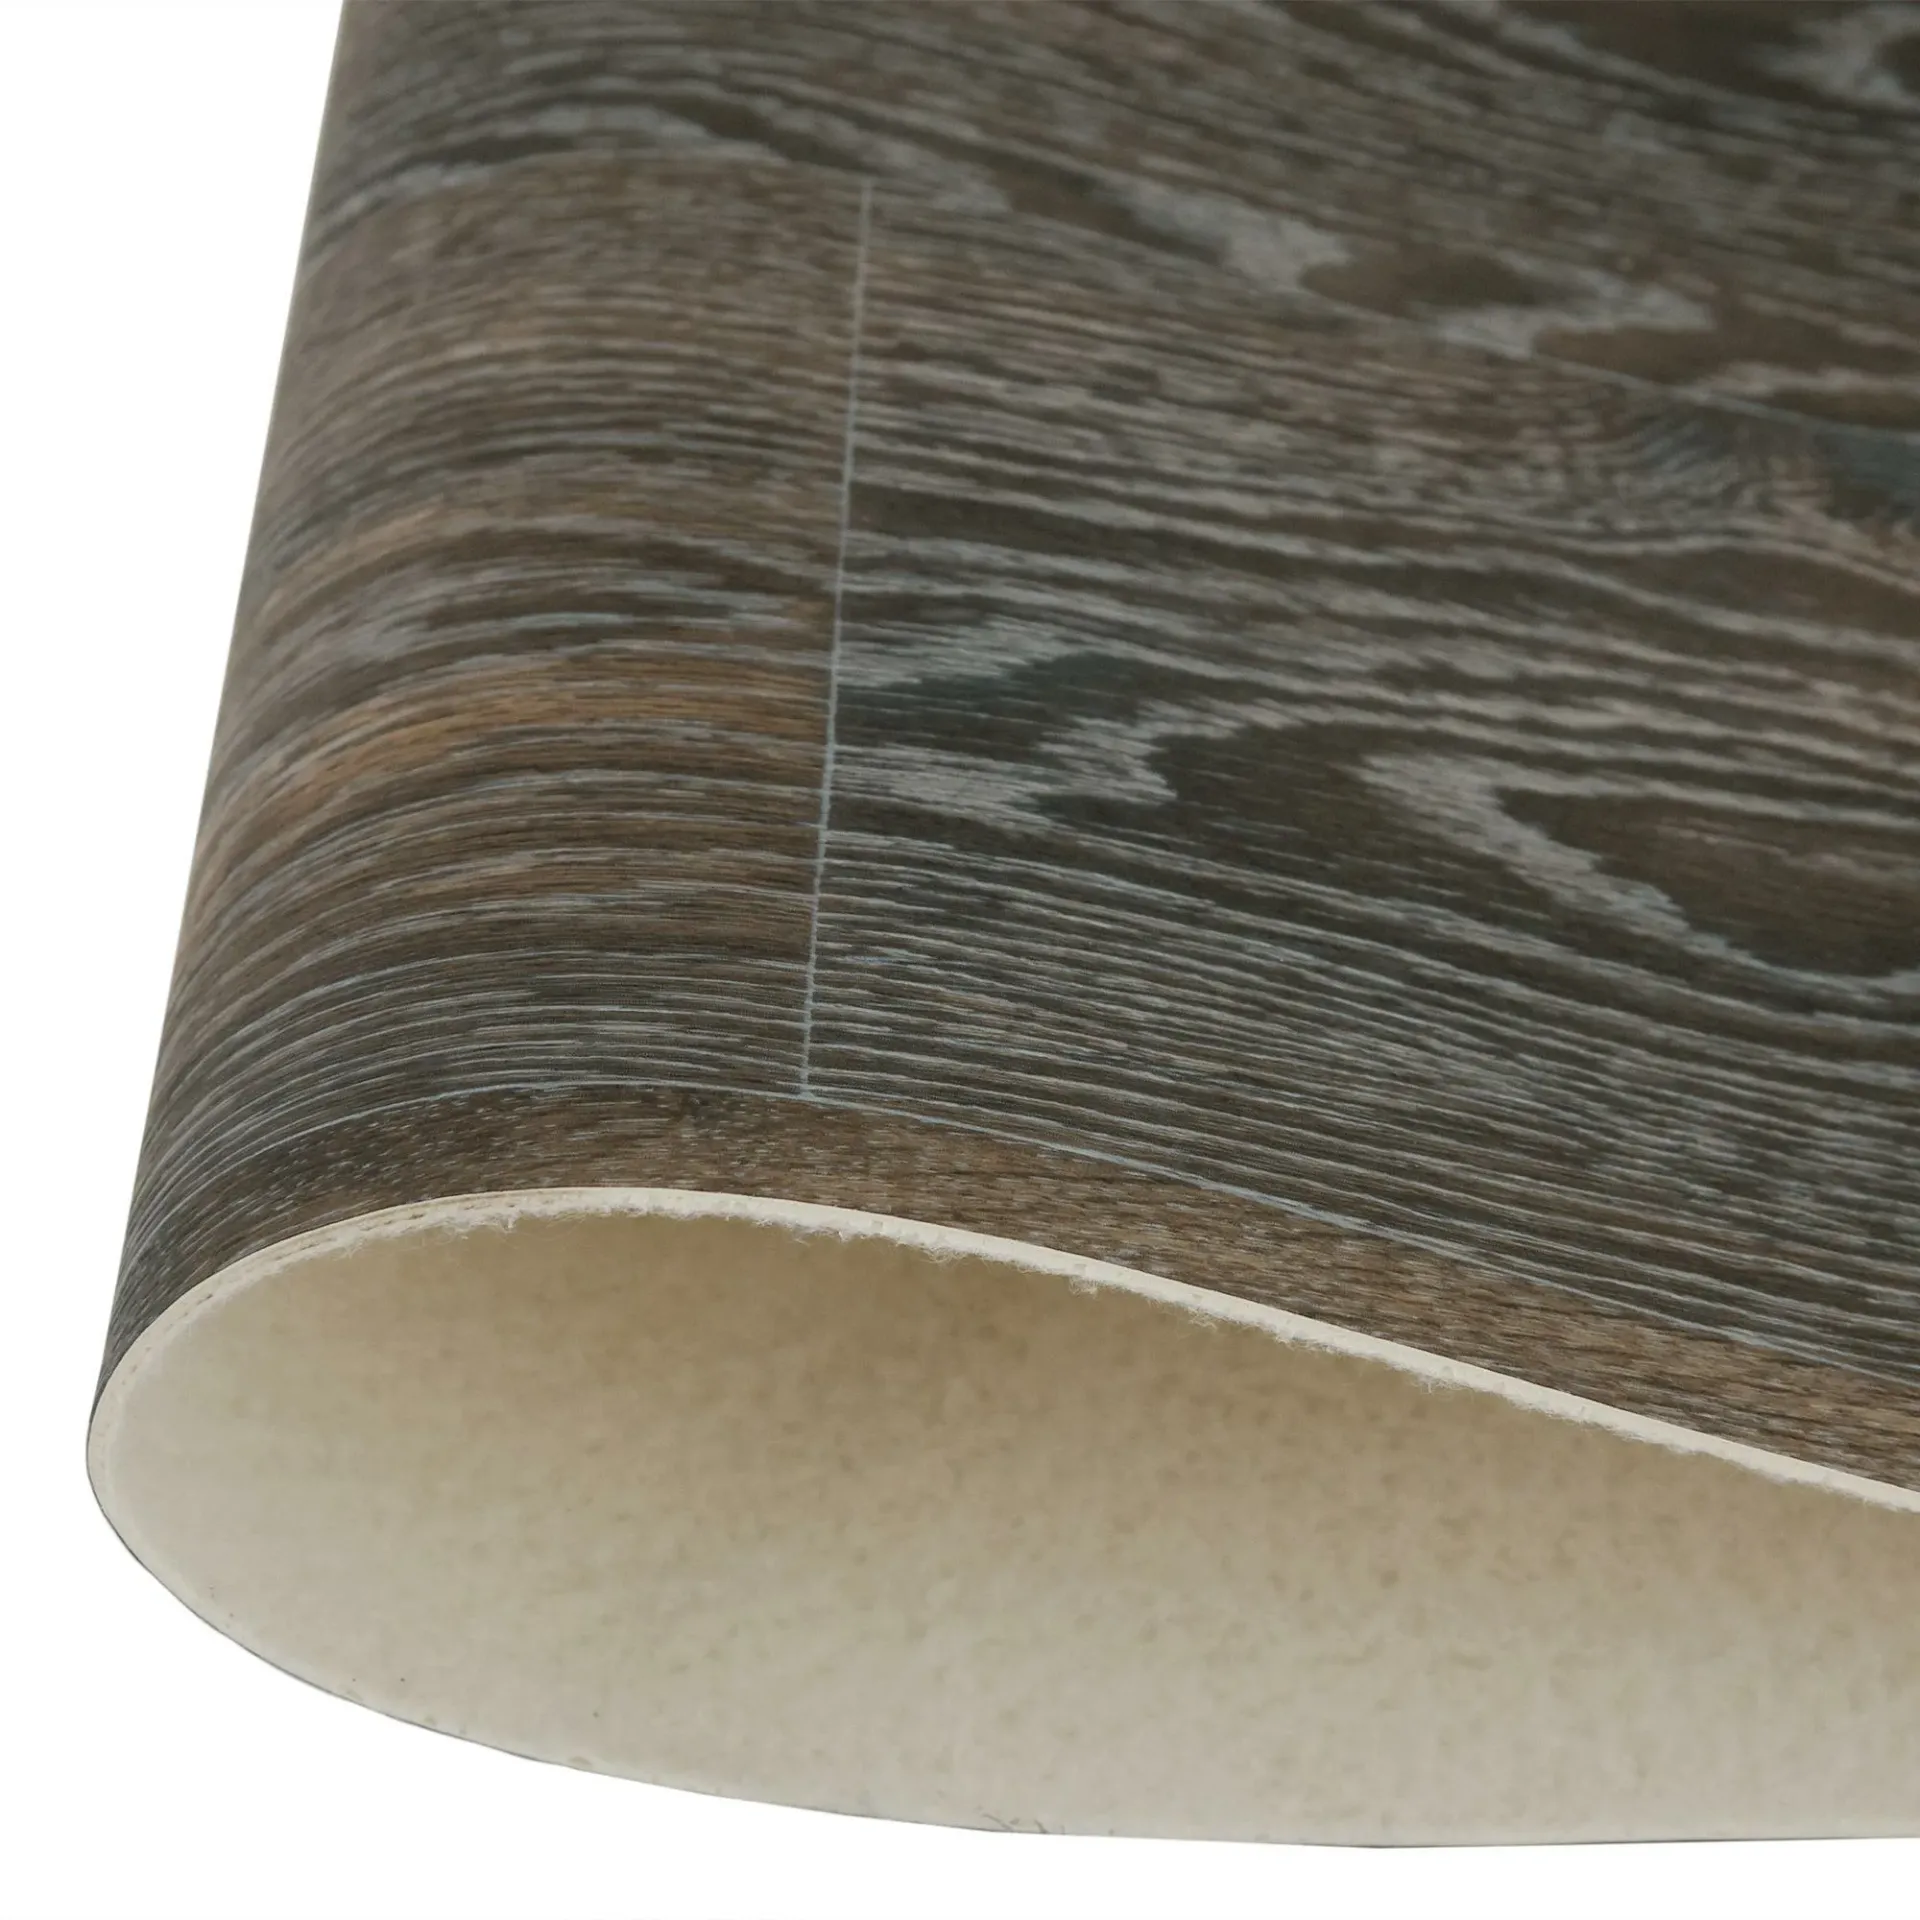
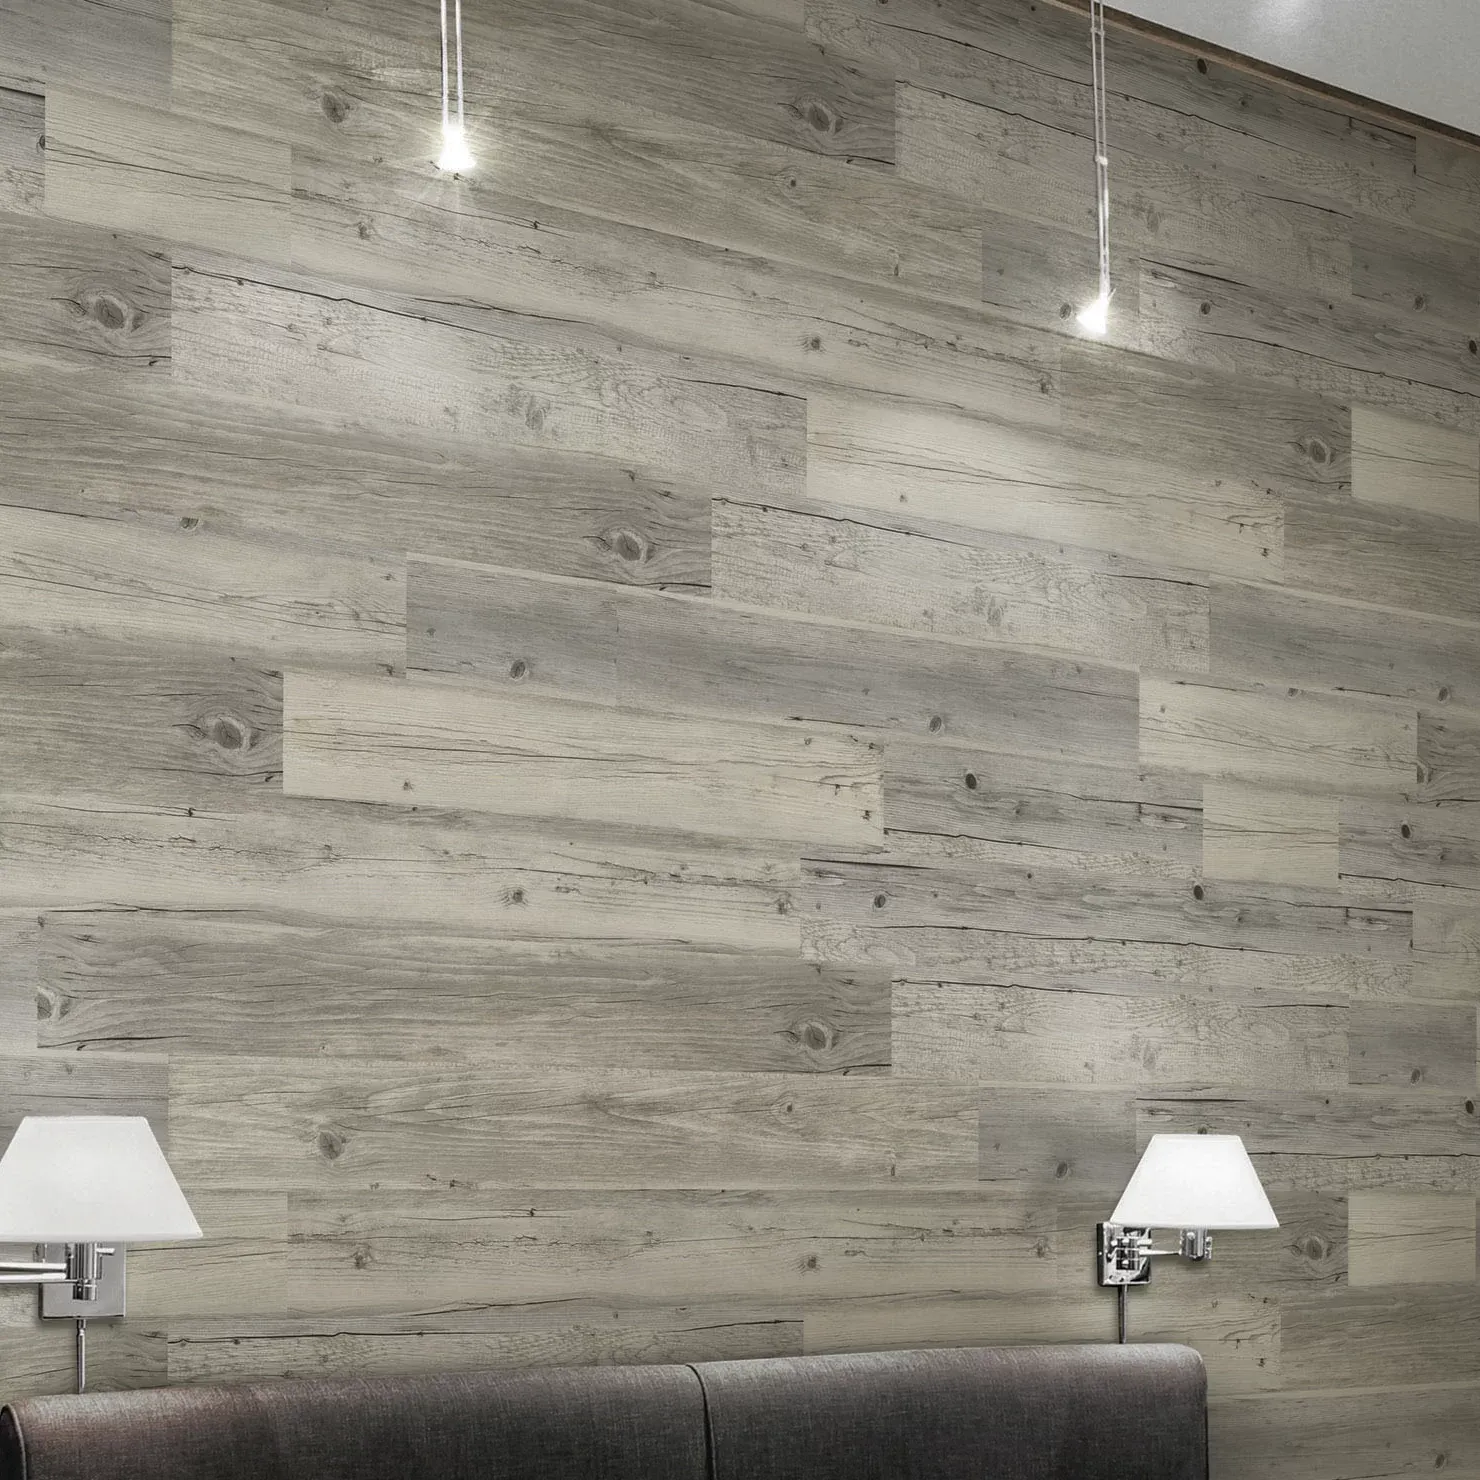
4. Variety of Designs Available in a myriad of colors, patterns, and finishes, vinyl flooring can mimic the appearance of natural materials like wood, stone, or tile, giving you a sophisticated look without the high maintenance associated with real wood or stone.
Preparation for Installation
Before rolling out your vinyl flooring, it's crucial to prepare the space adequately
1. Measure the Area First, measure the space where you will be laying the vinyl flooring. This will help you purchase the correct amount of materials.
2. Choose the Right Product Select the type of vinyl flooring that best meets your needs. You can choose between sheets, tiles, or planks, depending on your preference and the specifics of your project.
roll out vinyl flooring

3. Prepare the Subfloor Ensure that the subfloor is clean, dry, and level. Remove any old flooring, nails, or debris that could affect the vinyl. If necessary, repair any cracks or uneven spots to create a smooth base.
4. Acclimate the Vinyl Allow the vinyl flooring to acclimate to the room’s temperature and humidity for at least 48 hours before installation. This helps prevent expansion or contraction after it has been laid.
Installation Steps
Now that your space is ready, it’s time to install your vinyl flooring
1. Lay Out the Vinyl Roll out the vinyl flooring in place without cutting it yet. This will allow you to visualize how it fits into the space and make necessary adjustments.
2. Cut to Fit Using a sharp utility knife, carefully cut the vinyl flooring to fit the dimensions of the room. Remember to leave a tiny gap at the edges to allow for expansion.
3. Secure the Flooring Depending on the type of vinyl you have chosen, you may need to use adhesive or simply click the pieces together. Ensure that any seams are tightly fitted to prevent water from seeping underneath.
4. Trim Edges and Finishing Touches Once the flooring is laid out, use a transition strip to cover any edges and create a finished look. Finally, clean the floor to remove any dust or debris left from the installation process.
Conclusion
Rolling out vinyl flooring can be a rewarding DIY project that transforms your space. With its affordability, durability, and various design options, vinyl is an ideal choice for nearly any room in your home. By following the preparation steps and installation process outlined in this guide, you can achieve a beautiful, long-lasting floor that enhances your home’s appeal. Happy flooring!
-
The Evolution of Luxury Flooring Guangzhou Enlio's JourneyAug.05,2025
-
Innovative Commercial Flooring Solutions from Guangzhou Enlio SportsAug.05,2025
-
Premium Interior Solutions with Quality Skirting OptionsAug.05,2025
-
Masking Tape The Essential Tool for Professional ApplicationsAug.05,2025
-
SPC Vinyl FlooringJul.18,2025
-
Home SPC FlooringJul.18,2025


