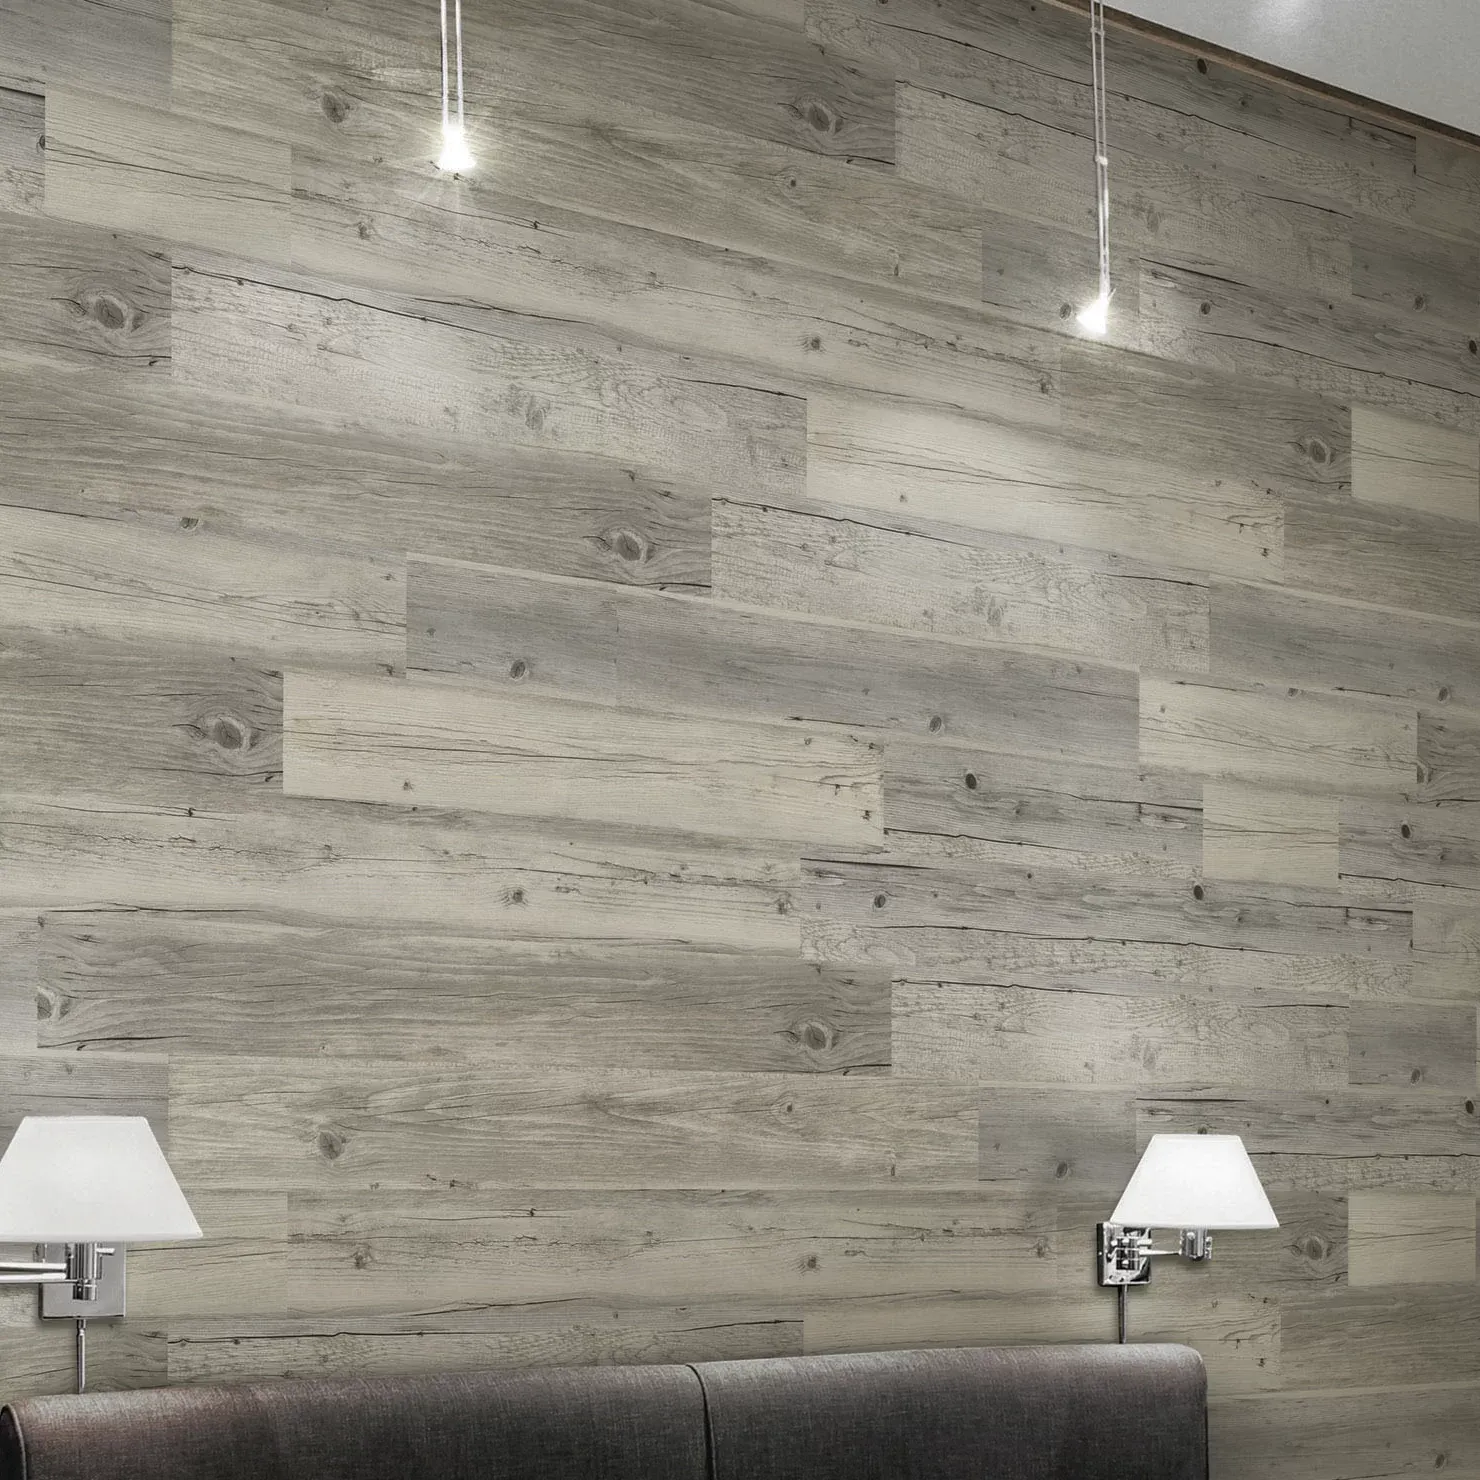
laying lvt click flooring
Laying LVT Click Flooring A Step-by-Step Guide
LVT, or Luxury Vinyl Tile, has become an increasingly popular flooring option for both residential and commercial spaces. One of its most attractive features is the click-lock installation method, making it a favorite among DIY enthusiasts. This article will guide you through the process of laying LVT click flooring, ensuring a successful installation that can enhance the beauty and functionality of your space.
Preparation is Key
Before you begin, proper preparation is essential. Start by measuring the room to determine how much flooring you will need. Remember to purchase about 10% more than your measurements account for waste and cuts. Next, let your LVT planks acclimate in the space where they will be installed for at least 48 hours. This allows the material to adjust to the room’s temperature and humidity, minimizing expansion or contraction after installation.
Gather Your Tools
The tools required for laying LVT click flooring include a tape measure, utility knife, straight edge, tapping block, hammer, and spacers. Having all your materials on hand will help streamline the process and prevent unnecessary interruptions.
Prepare the Subfloor
The subfloor must be clean, dry, and level. Remove any old flooring and ensure that the subfloor is free from debris. If you’re installing over concrete, you may need to fix any uneven areas with a leveling compound. For wooden subfloors, ensure there are no squeaks and that the boards are securely fastened.
Start Laying the Flooring
laying lvt click flooring

Begin laying your LVT planks in one corner of the room, moving from left to right. Use spacers to maintain a gap between the planks and the wall, allowing for expansion. Align the tongue and groove edges of the planks and use a tapping block and hammer to ensure they fit snugly together without damaging the material. Continue laying the planks row by row, staggering the seams to enhance stability and appearance.
Cutting the Planks
As you approach the walls and corners, you will likely need to cut some planks to fit. Measure accurately, marking the planks with a straight edge, and carefully cut them using your utility knife. Make sure every cut is clean to ensure a perfect fit.
Finishing Touches
Once all the planks are laid, it’s time to remove the spacers and install any baseboards or trim. This not only enhances the overall aesthetics but also helps secure the flooring in place.
Care and Maintenance
LVT click flooring is relatively easy to maintain. Regular sweeping and occasional mopping with a gentle cleaner will keep your floors looking their best. Avoid steam cleaning or wet mopping, as excess water can damage the planks.
Conclusion
Laying LVT click flooring can be a rewarding DIY project that transforms your space. With the right preparation, tools, and technique, you can achieve a professional-looking installation. Enjoy your new flooring and the comfort and style it brings to your home!
-
SPC Vinyl FlooringJul.18,2025
-
Home SPC FlooringJul.18,2025
-
Heterogeneous Sheet Vinyl: The Ultimate Commercial Flooring SolutionJul.15,2025
-
Dry Back LVT Flooring: A Durable and Stylish Flooring SolutionJul.15,2025
-
Click LVT Flooring: A Stylish and Convenient Flooring SolutionJul.15,2025
-
SPC FlooringJun.24,2025


