Guide to Installing Commercial Floor Tiles Effectively and Efficiently for Optimal Results
Commercial Floor Tile Installation A Comprehensive Guide
In the world of commercial spaces, the flooring you choose plays a pivotal role in not just aesthetics, but also functionality and durability. Among the various options available, floor tiles have emerged as a popular choice for businesses due to their versatility, ease of maintenance, and ability to withstand heavy foot traffic. This article will provide a comprehensive overview of commercial floor tile installation, detailing the steps, considerations, and benefits involved in the process.
Why Choose Floor Tiles for Commercial Spaces?
Floor tiles are known for their robustness and longevity, making them ideal for high-traffic environments like retail stores, offices, and restaurants. They come in a wide range of materials, including ceramic, porcelain, and vinyl, each offering unique benefits. For instance, porcelain tiles are incredibly dense and water-resistant, making them suitable for areas prone to spills, while ceramic tiles provide a wide array of designs and colors.
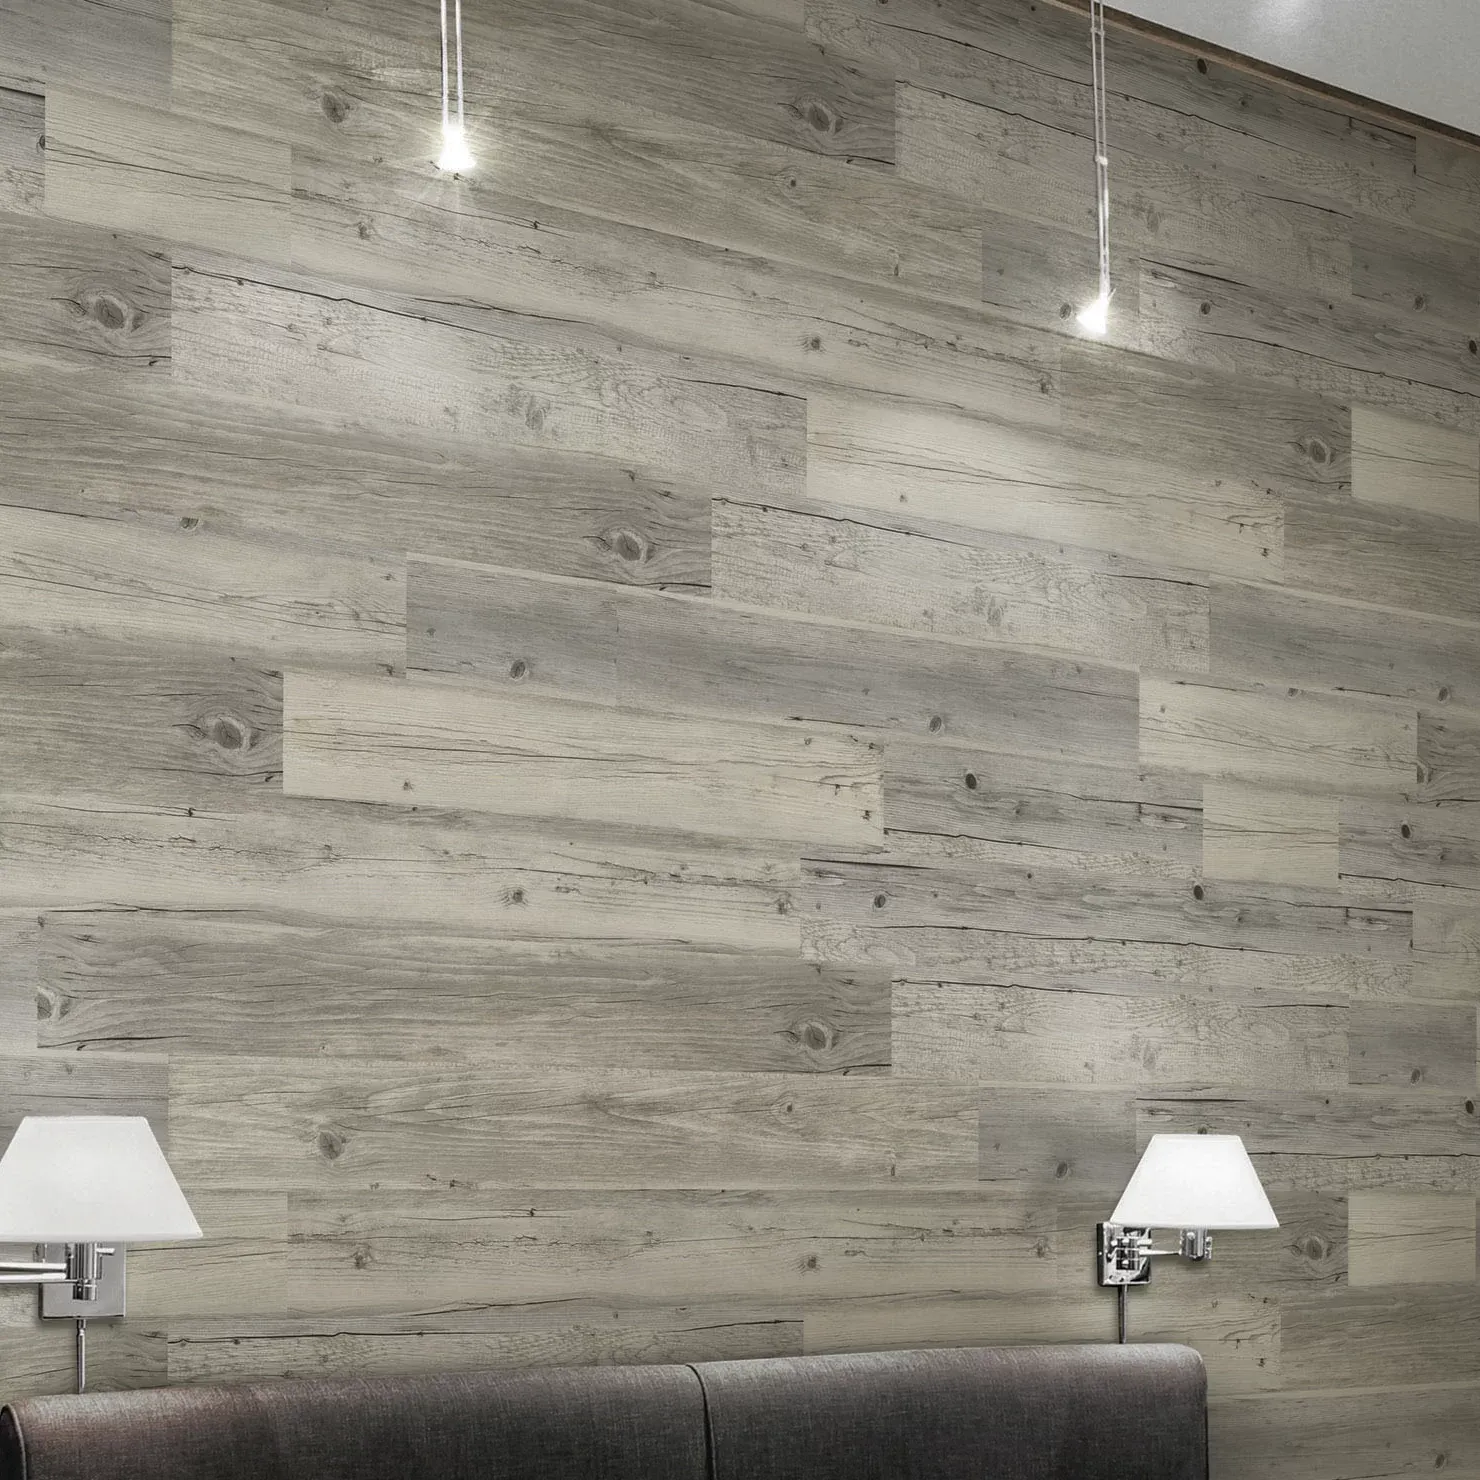
In addition to durability, tiles can also enhance the aesthetic appeal of a commercial space. With modern technology, tiles can mimic the look of more expensive flooring options like hardwood or stone without the hefty price tag. Furthermore, they are relatively easy to replace or repair, ensuring that a business can maintain its professional appearance with minimal disruption.
Preparation for Installation
Before diving into the installation process, thorough preparation is key. Begin by assessing the subfloor condition, as an uneven surface can lead to installation issues down the line. Any cracks or imperfections should be repaired and leveled to ensure a smooth foundation. It’s also essential to clean the area thoroughly to remove dust and debris that could affect adhesion.
Next, determine the layout of your tiles
. A well-planned layout not only enhances the visual appeal but also makes the installation process more efficient. Use chalk lines to outline your starting point—typically, it’s best to start from the center of the room and work outward to ensure symmetry.commercial floor tile installation

Installation Process
1. Adhesive Application Depending on the type of tile, you will need to apply the appropriate adhesive. For most ceramic and porcelain tiles, a thin-set mortar is used. Spread the adhesive evenly using a notched trowel to create the proper bond.
2. Setting the Tiles Begin placing the tiles according to your pre-planned layout. Press each tile firmly into the adhesive, twisting slightly to ensure a strong bond. Use spacers to maintain consistent grout lines between tiles.
3. Cutting Tiles As you approach the walls or obstacles, you may need to cut tiles to fit. A tile cutter or wet saw will allow you to make precise cuts, ensuring a professional finish.
4. Grouting Once all tiles are set and the adhesive has cured (typically 24 hours), it’s time to apply grout. Choose a grout color that complements your tiles and use a grout float to spread it into the spaces between the tiles. Wipe off excess grout with a damp sponge before it hardens.
5. Sealing Finally, depending on the type of grout and tiles used, a sealant may be necessary to protect against stains and moisture.
Conclusion
Commercial floor tile installation is a practical solution for businesses looking to create a durable, stylish, and functional environment. By following proper preparation and installation techniques, businesses can enjoy a beautiful and lasting floor that meets their needs for years to come. Whether for appearance, practicality, or ease of maintenance, floor tiles stand out as an ideal choice for commercial settings.
-
SPC FlooringJun.24,2025
-
Bathroom Wall CoveringsJun.24,2025
-
Why Dry Back LVT Flooring Is the Smart Choice for Modern InteriorsJun.05,2025
-
Transform Your Interiors with Elegant Luxury Vinyl Flooring OptionsJun.05,2025
-
The Rise of SPC Vinyl Flooring: A Modern Solution for Durable and Stylish SpacesJun.05,2025
-
Click LVT Flooring: The Perfect Blend of Style, Strength, and SimplicityJun.05,2025


