Installation Guide for Enlio Mohawk Flooring Tips and Techniques for Success
A Comprehensive Guide to Enlio Mohawk Flooring Installation
Installing new flooring can be a daunting task, but with the right preparation and knowledge, it can be a rewarding project that transforms your space. Enlio Mohawk flooring, known for its durability and aesthetic appeal, is an excellent choice for both residential and commercial spaces. This article will walk you through the steps to properly install Enlio Mohawk flooring, ensuring optimal results.
Understanding Enlio Mohawk Flooring
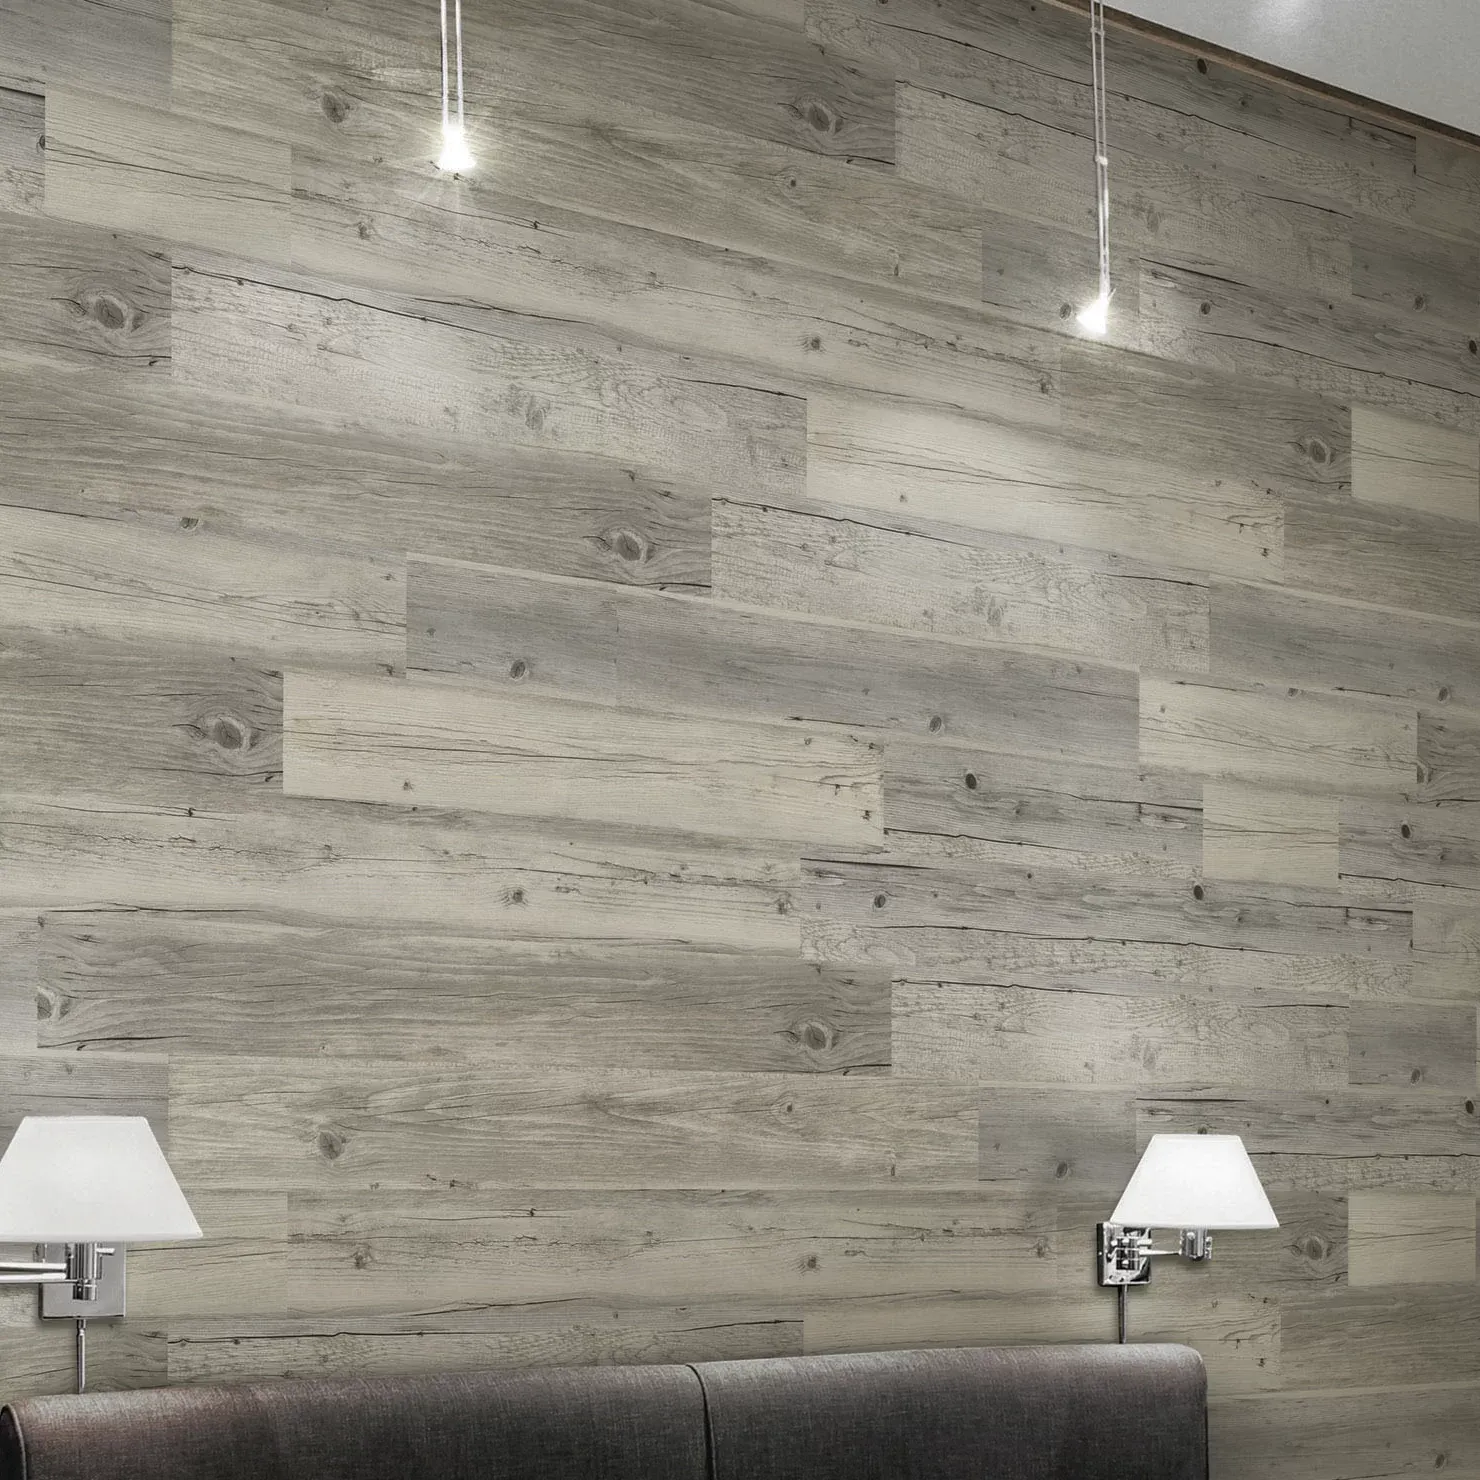
Enlio Mohawk flooring features advanced technology that offers enhanced durability, design flexibility, and easy maintenance. It is often made from high-quality vinyl or laminate materials, making it suitable for various environments, including high-traffic areas. When choosing Enlio flooring, you can expect a product that is not only visually stunning but also resistant to scratches, stains, and moisture.
Preparing for Installation
Before embarking on your installation journey, it’s crucial to prepare adequately. Here are the steps to follow
1. Choose the Right Material Select the Enlio Mohawk flooring option that best suits your style and the intended room use. Consider factors like color, texture, and finish.
2. Gather Necessary Tools and Materials You'll need the following tools for the installation process - Measuring tape - Utility knife - Straight edge - Trowel (for glue-down installations) - Roller - Vacuum or broom - Spacers (if using floating floors)
3. Acclimate the Flooring Allow your flooring to acclimate to the room temperature and humidity for at least 48 hours before installation. This step helps prevent expansion or contraction after the flooring is installed.
4. Prepare the Subfloor Ensure the subfloor is clean, dry, and level. Any imperfections could affect the long-term integrity of the flooring. If necessary, use a leveling compound to smooth out any uneven areas.
Installation Steps
Now that you're prepared, follow these installation steps based on the type of Enlio Mohawk flooring you have chosen
For Click-Lock (Floating Floor) Installation
1. Layout the Flooring Begin by laying out the flooring planks to get a sense of how they fit together. Leave about a quarter-inch gap around the perimeter for expansion.
enlio mohawk flooring installation

2. Start the First Row Position the first plank in the corner of the room, ensuring it is straight. Use spacers to maintain the expansion gap.
3. Connect the Planks Angle and slide the next plank into the first and press it down until you hear a click. Continue this process for the entire row.
4. Stagger the Joints For a more natural look, stagger the joints by starting the second row with a plank cut to about half its length. This technique adds strength and reduces the chance of separation.
5. Complete the Installation Continue adding planks until the entire floor is laid. Once finished, remove the spacers and install the baseboards to cover the expansion gap.
For Glue-Down Installation
1. Apply Adhesive Use a notched trowel to apply adhesive evenly on the subfloor, following the manufacturer’s instructions.
2. Lay the Planks Start from the center of the room or a marked line, placing each plank into the adhesive. Press down firmly and use a roller to ensure good contact with the adhesive.
3. Cut Planks as Needed Use a utility knife and a straight edge to cut planks to fit around edges and corners.
4. Allow to Cure Follow the adhesive manufacturer's recommendations for curing time before allowing foot traffic on the newly installed floor.
Final Touches
Once your Enlio Mohawk flooring is installed, take the time to clean any excess adhesive and ensure the flooring is free from debris. Finish the project by installing baseboards or trim to give your space a polished look.
Conclusion
Installing Enlio Mohawk flooring can significantly enhance the beauty and functionality of your space. With careful planning, the right tools, and attention to detail, you can achieve professional-looking results in your home or office. Remember to follow the manufacturer's guidelines and take your time to ensure a successful installation. Whether you opt for a floating floor or a glue-down method, you'll enjoy the benefits of your new flooring for years to come. Happy installing!
-
SPC Vinyl FlooringJul.18,2025
-
Home SPC FlooringJul.18,2025
-
Heterogeneous Sheet Vinyl: The Ultimate Commercial Flooring SolutionJul.15,2025
-
Dry Back LVT Flooring: A Durable and Stylish Flooring SolutionJul.15,2025
-
Click LVT Flooring: A Stylish and Convenient Flooring SolutionJul.15,2025
-
SPC FlooringJun.24,2025


