How to Successfully Replace Skirting Boards for a Fresh Home Aesthetic and Improved Functionality
Replacing Skirting Boards A Step-by-Step Guide
Replacing skirting boards can significantly enhance the aesthetic of a room, giving it a fresh and polished look. Skirting boards, also known as baseboards, serve as a transition between the wall and the floor, protecting walls from damage and providing a finished appearance. Whether your skirting boards are outdated, damaged, or simply in need of a style update, the process of replacing them is straightforward and can often be completed as a DIY project. Here’s a comprehensive guide to help you through the process.
Step 1 Gather Your Tools and Materials
Before you begin, you'll need to assemble the necessary tools - A measuring tape - A miter saw or hand saw - A utility knife - A hammer or nail gun - Wood adhesive (optional) - Wood filler - Sandpaper - Paint or wood stain - Safety goggles and gloves
Additionally, you’ll need to choose your new skirting boards. This can range from simple MDF boards to more ornate wooden profiles, depending on your taste and budget.
Step 2 Remove the Old Skirting Boards
Begin by carefully removing the old skirting boards using a utility knife. Cut along the top edge of the skirting to break the paint seal so that you do not damage the wall when pulling it off. Use a pry bar or flathead screwdriver to gently lever the skirting board away from the wall. Take care to avoid breaking the boards if you plan to reuse or recycle them.
If the boards are particularly stubborn, you may need to hammer the pry bar under the board to loosen it. Once removed, discard or store the old boards, depending on your intention.
Step 3 Measure and Cut the New Skirting Boards
replacing skirting boards

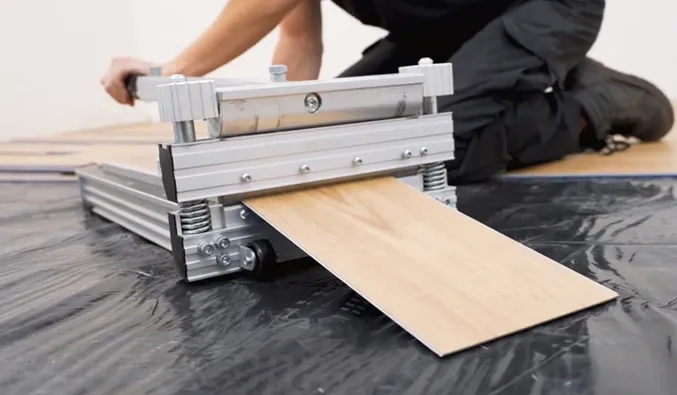
Using a measuring tape, measure the length of each wall where you will install the new skirting boards. It’s essential to measure twice and cut once to minimize waste. When cutting the boards, especially at the corners, use a miter saw to achieve clean angles—a 45-degree cut is common for corners.
Step 4 Prepare the Wall and Floor
Before installing the new boards, check the wall for any irregularities. Fill in any holes or cracks with wall filler and sand it smooth once dried. Sweep or vacuum the floor to ensure a clean surface for the skirting to adhere to.
Step 5 Install the New Skirting Boards
Starting at one corner of the room, apply a thin line of wood adhesive on the back of the skirting board for added stability (optional). Position the board against the wall and press it firmly into place. If you’re using nails, start at the top and drive them down into the board and into the wall using your hammer or nail gun. Space the nails about every 12–16 inches along the length of the board. Repeat this process for each board, ensuring they fit snugly together at the corners.
Step 6 Finishing Touches
Once all the skirting boards are in place, fill any visible nail holes with wood filler and sand smooth when dried. Finally, it’s time to paint or stain the skirting boards to match your decor. Applying a primer before painting can help achieve an even finish.
Conclusion
Replacing skirting boards can make a substantial difference in the overall appearance of a room. With some basic tools and a little patience, you can enhance your home’s interior aesthetics. Whether you choose a classic or contemporary design, new skirting boards can seamlessly tie your room together, adding character and elegance. Happy renovating!
-
SPC FlooringJun.24,2025
-
Bathroom Wall CoveringsJun.24,2025
-
Why Dry Back LVT Flooring Is the Smart Choice for Modern InteriorsJun.05,2025
-
Transform Your Interiors with Elegant Luxury Vinyl Flooring OptionsJun.05,2025
-
The Rise of SPC Vinyl Flooring: A Modern Solution for Durable and Stylish SpacesJun.05,2025
-
Click LVT Flooring: The Perfect Blend of Style, Strength, and SimplicityJun.05,2025


