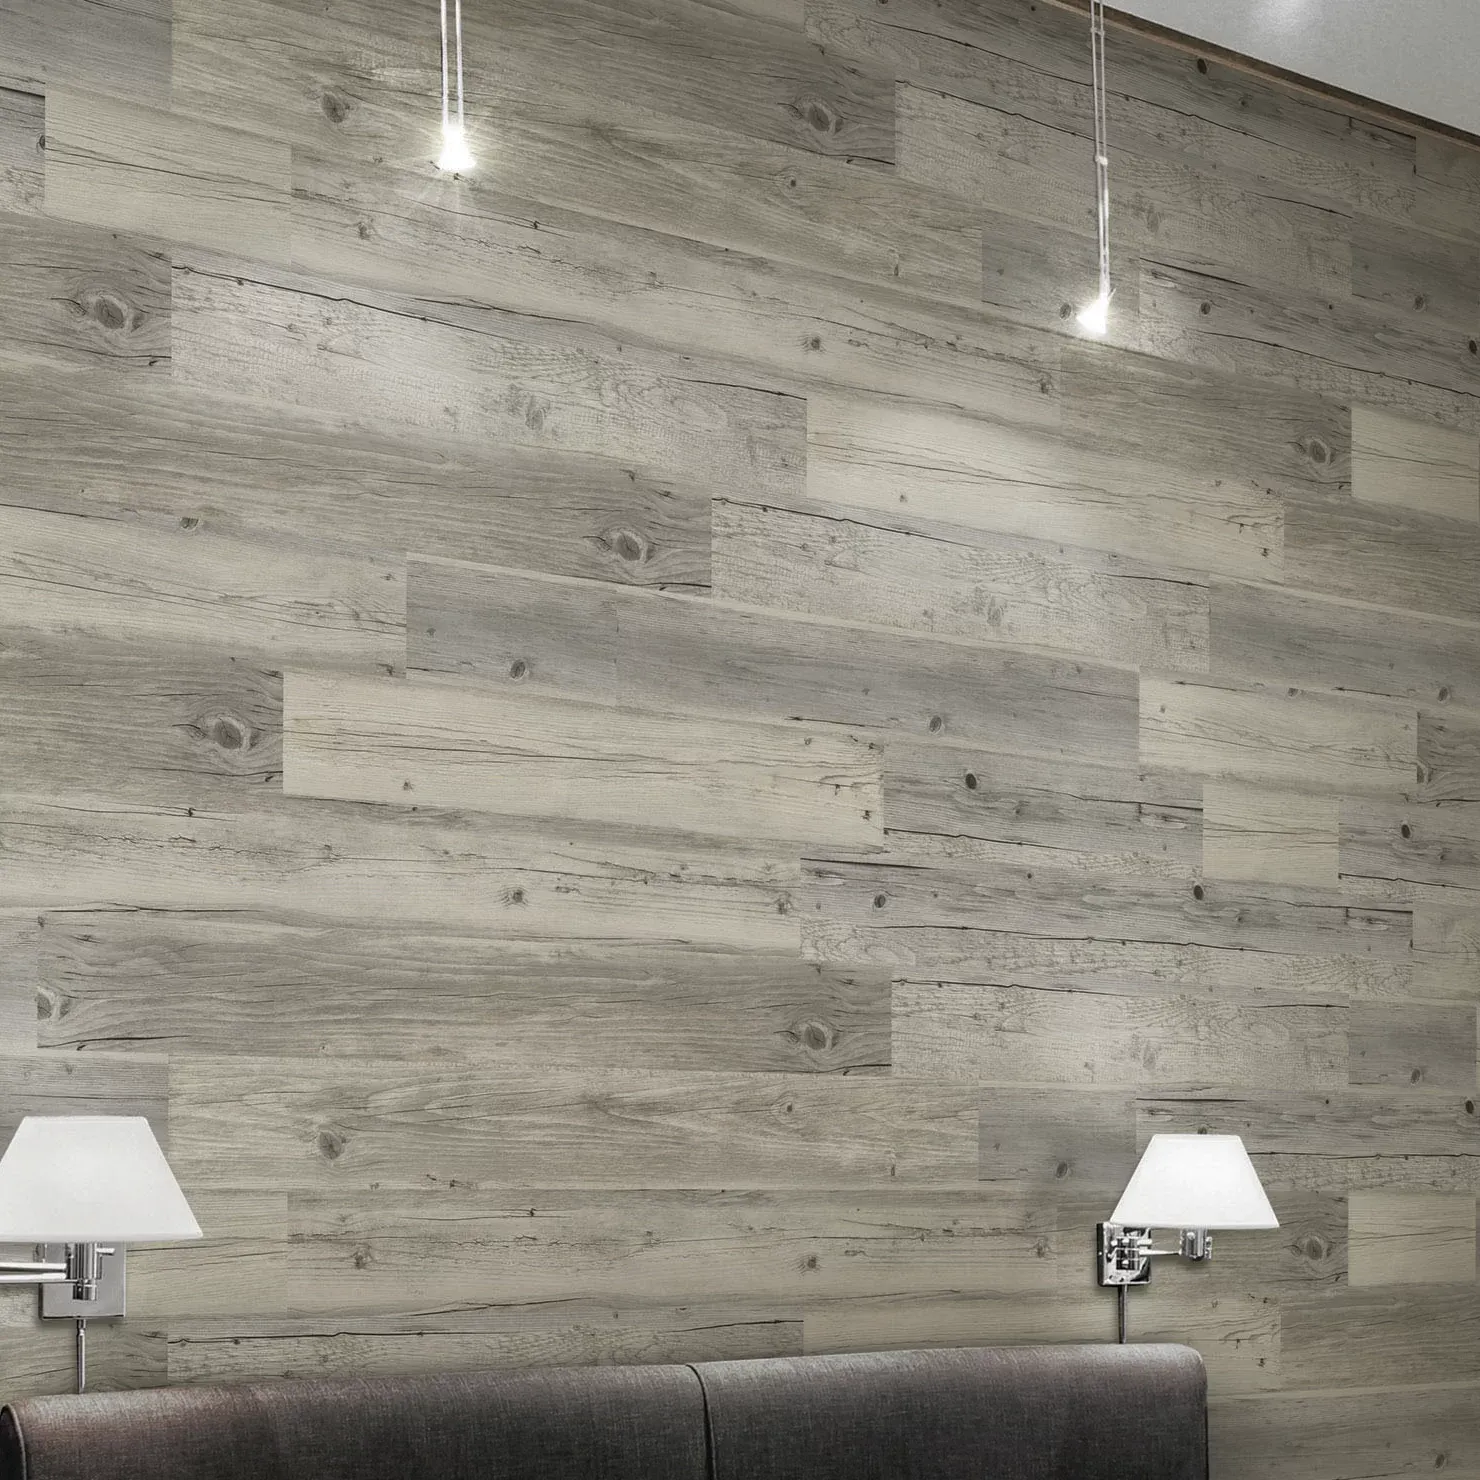
laying lvt click flooring
Laying LVT Click Flooring A Step-by-Step Guide
Luxury Vinyl Tile (LVT) has become a popular choice for homeowners and interior designers alike due to its durability, water resistance, and aesthetic appeal. The click-lock installation system also makes it one of the easiest flooring options to lay down. If you’re considering a DIY project, here’s a comprehensive guide on how to lay LVT click flooring effectively.
Preparation is Key
Before you begin the installation, it’s essential to prepare the space. Start by measuring the area where you’ll install the flooring to determine how many tiles you will need. Always order a little extra to account for mistakes or irregular cuts.
Next, ensure the subfloor is clean, dry, and level. Any debris, dust, or moisture can hinder the installation process and affect the durability of the flooring. If the subfloor is uneven, it may require leveling compounds.
Acclimation of LVT
Before installation, it’s recommended to acclimate the LVT tiles to the environment of the room. Leave the tiles in their packaging in the room for at least 48 hours, allowing them to adjust to room temperature and humidity. This step helps prevent warping and provides a better fit.
Installation Process
1. Plan Your Layout Decide on the direction of the planks. Running them parallel to the longest wall usually creates a more pleasing aesthetic. It’s wise to lay out a few rows before attaching them to get a visual sense of how it will look.
laying lvt click flooring

2. Start in the Corner Begin laying the flooring in a corner of the room. Place the first tile with the groove side facing the wall. Use spacers to maintain a small gap (around 1/4 inch) between the tiles and the wall for expansion.
3. Click and Lock LVT click flooring features a simple locking mechanism. Insert the tongue of the next tile into the groove of the first tile at a slight angle and then lower it down to lock it in place. Continue this process row by row.
4. Stagger the Joints For a more natural appearance and increased stability, stagger the joints of the tiles. This means that the joints of adjacent rows should not align. A common practice is to cut the first tile of the second row in half to create a staggered look.
5. Cut Tiles as Needed As you approach the walls and corners, you may need to cut tiles to fit. Use a utility knife or a specialized vinyl tile cutter for precise cuts. Always measure carefully before cutting.
6. Finishing Touches Once all tiles are laid, remove the spacers. You might need to install transition strips at doorways or where the flooring meets other surfaces. These strips provide a finished look and help with expansion gaps.
Final Cleaning and Maintenance
After installation, give your new floor a thorough cleaning to remove any dust and debris. Regular cleaning with a damp mop will help maintain the beauty of your LVT flooring. Avoid harsh chemicals and excessive water to ensure the longevity of your investment.
In conclusion, laying LVT click flooring is a straightforward process that can greatly enhance the beauty and functionality of your home. With careful preparation and attention to detail, you can enjoy a beautiful new floor that will last for years to come. Happy flooring!
-
SPC FlooringJun.24,2025
-
Bathroom Wall CoveringsJun.24,2025
-
Why Dry Back LVT Flooring Is the Smart Choice for Modern InteriorsJun.05,2025
-
Transform Your Interiors with Elegant Luxury Vinyl Flooring OptionsJun.05,2025
-
The Rise of SPC Vinyl Flooring: A Modern Solution for Durable and Stylish SpacesJun.05,2025
-
Click LVT Flooring: The Perfect Blend of Style, Strength, and SimplicityJun.05,2025


